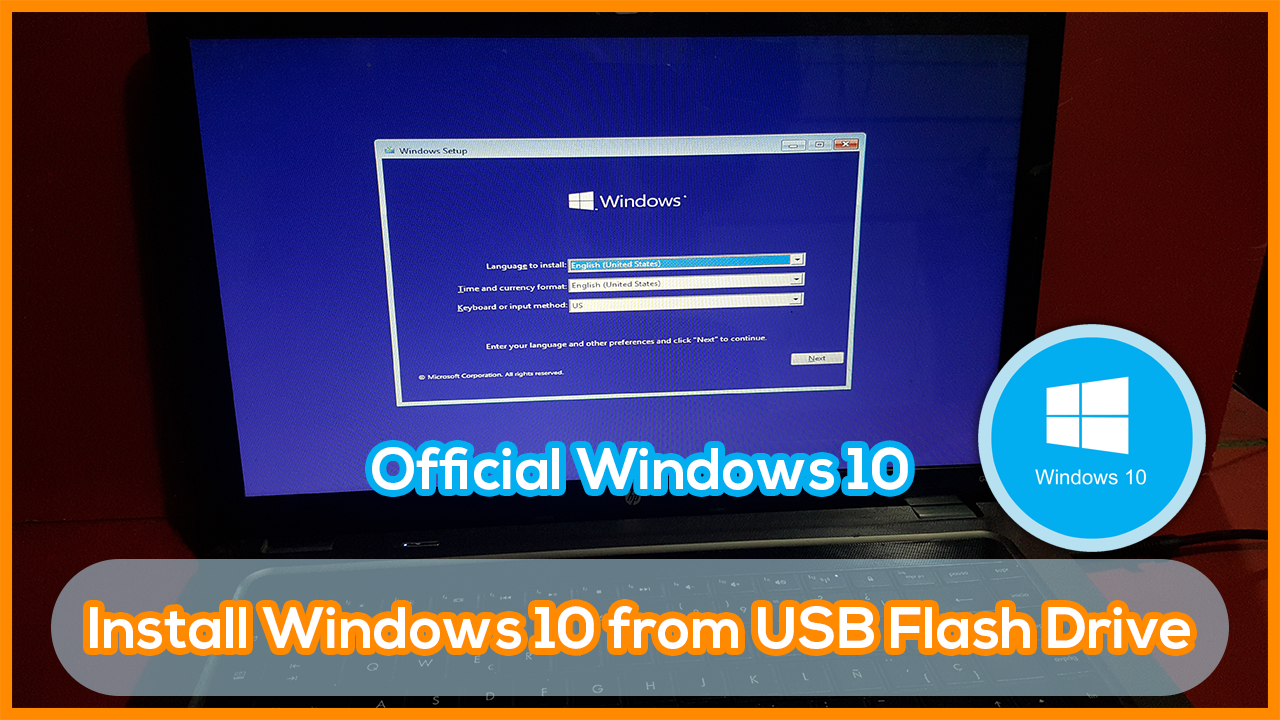
Microsoft makes it easy to create a bootable USB Flash drive for Windows 10. This nifty little all-purpose tool works to install whichever Windows 10 version it contains. Because it’s bootable, it also serves quite nicely as a bootable recovery drive, should you be unable to start .
If your computer doesn’t have a CD or DVD drive, you may want to learn how to run the installation from a “bootable USB” to quickly set up your operating system.
To get the Windows installation files ready, you'll need a Windows computer that's already set up and connected to the internet. Once that's done, you'll move them to the new computer.
Most modern computers and laptops have completely abandoned the CD or DVD drive, making installation disks obsolete. While this isn’t an issue in many areas, such as video games and movies, it does oppose a roadblock for some software installations. You may want to learn how to install Windows 10 using a bootable USB.
It's also quicker to install Windows 10 from a USB stick. A USB drive can be made bootable faster than an optical drive can; it also installs the operating system quicker.
NOTE: While Windows 10 is free to install, you will need need to pay for an activation key to unlock all of its features once you get it running.
WHAT YOU NEED
Internet access: Internet access is required for downloading the Windows 10 installation image.
USB Pen Drive: A USB Pen Drive with at least 8GB of space.
Working Windows 7/ 8.1/ 10 PC OR Laptop: This is required to create a bootable Windows 10 USB for installation.
WINDOWS 10 HARDWARE REQUIREMENTS
Mentioned below is the minimum required configuration for installing Windows 10 on your PC/Laptop.
Processor: 1 GHz or faster CPU.
RAM: 2 GB or more.
Storage: 20 GB or more for 64-bit Windows 10.
Display: Monitor or Laptop display with a minimum resolution of 800x600 pixels.
MAKING A BOOTABLE WINDOWS 10 USB DRIVE IS EASY
Step 2: Move any personal files off of the drive. Make sure the flash drive has no other files on it before copying the Windows 10 ISO file.
Step 3: Download the MediaCreationTool21H1 Tool from the download Section. to create USB Bootable.
Step 6: Select Create installation media (USB flash drive, DVD, or ISO file) for another PC and click the Next button.
Step 7: Follow any on-screen instructions to set your preferred language, Windows edition, and System Architecture. If unsure, check the Use the recommended options for this PC option and proceed.
Step 8: Choose the USB flash drive, and then select your USB from the list. The Windows installation files will start to download to your USB drive.
Note that the download may take a long time depending on your internet connection. Make sure not to disrupt the process until the bootable USB drive is created.
Step 10: Once the Windows 10 installation begins, you will be prompted to select a language, time and currency format, and keyboard layout. Once you select these, click Next.
Step 11: Click Install Now.
Step 12: In Activate Windows page Click on "I don't have product key" if you don't have product key.
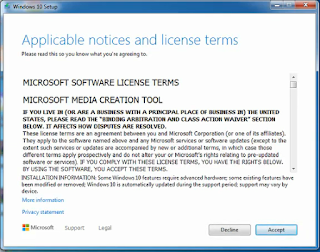
Step 14: Accept the license agreement. Once you have read the agreement, check the box signifying that you accept the agreement and click next.
Step 15: Click Custom Install. You will have two options to install windows. Picking Custom will allow you to do a complete installation of Windows 10. Selecting upgrade can cause performance problems in the long run. It is highly recommended that you do a clean Custom Install.
Step 16: Delete the partition. A window will open asking where you would like to install Windows 10. In order to perform a clean install, you need to delete the old partition and start with a clean slate. Click delete and create partitions.
Select the partition of your existing operating system and click the Delete button. If you are installing an operating system for the first time on this hard drive, then there will be no partitions to delete. If your hard drive has multiple partitions, be sure to delete the correct one. Any data on a deleted partition is lost for good.
Step 17: Wait while Windows install files. The percentage next to Expanding Windows files will steadily increase. This part of the process can take up to 30 minutes. Windows will automatically restart your computer when finished.
Step 18: Wait while Windows gathers information. After the computer reboots, you will see the Windows 10 logo. Beneath it will be the text “Getting devices ready” followed by a percentage. Windows is collecting information on the hardware installed in your computer. When this is done, the text will change to “Getting ready”. Your computer will restart one more time.
Step 19: Once completed, you will be redirected to the screen where you will be asked to choose your region. Select your region and click Yes.
Step 20: Windows will be asked to choose the keyboard layout. Select your keyboard language and click Yes.
Step 21: Choose your wireless network. If you have a wireless-enable computer or device, you will see a menu asking you to choose a network. If you haven’t click on "I don't have internet".
Step 22: Choose your settings. select Continue with limited setup if you are not connected to internet.
Step 23: Add a User name if you went a password choose something will be easy for you to remember and hard for others to guess. if you don't went add password click on Finish.
Step 24: After choosing all of your settings, Windows goes through one final setup process. You will see several screens explaining how to use the new Windows. Once the loading is complete, you’ll be presented with your Start screen. You’re ready to begin using Windows 10
If your computer doesn’t have a CD or DVD drive, you may want to learn how to run the installation from a “bootable USB” to quickly set up your operating system.
To get the Windows installation files ready, you'll need a Windows computer that's already set up and connected to the internet. Once that's done, you'll move them to the new computer.
Most modern computers and laptops have completely abandoned the CD or DVD drive, making installation disks obsolete. While this isn’t an issue in many areas, such as video games and movies, it does oppose a roadblock for some software installations. You may want to learn how to install Windows 10 using a bootable USB.
It's also quicker to install Windows 10 from a USB stick. A USB drive can be made bootable faster than an optical drive can; it also installs the operating system quicker.
NOTE: While Windows 10 is free to install, you will need need to pay for an activation key to unlock all of its features once you get it running.
WHAT YOU NEED
Internet access: Internet access is required for downloading the Windows 10 installation image.
USB Pen Drive: A USB Pen Drive with at least 8GB of space.
Working Windows 7/ 8.1/ 10 PC OR Laptop: This is required to create a bootable Windows 10 USB for installation.
WINDOWS 10 HARDWARE REQUIREMENTS
Mentioned below is the minimum required configuration for installing Windows 10 on your PC/Laptop.
Processor: 1 GHz or faster CPU.
RAM: 2 GB or more.
Storage: 20 GB or more for 64-bit Windows 10.
Display: Monitor or Laptop display with a minimum resolution of 800x600 pixels.
MAKING A BOOTABLE WINDOWS 10 USB DRIVE IS EASY
- Format a 8GB (or higher) USB flash device.
- Download the Windows 10 media creation tool from Microsoft.
- Run the media creation wizard to download the Windows 10 installation files.
- Create the installation media.
- Eject the USB flash device.
INSTALLING WINDOWS 10 USING A FLASH DRIVE OR EXTERNAL DRIVE
Step 1: Connect a USB flash drive to your computer. Use a free USB port to connect a USB flash drive to your computer. The USB flash drive needs to have a minimum of 8 gigabytes of disc space.
Step 2: Move any personal files off of the drive. Make sure the flash drive has no other files on it before copying the Windows 10 ISO file.
Step 3: Download the MediaCreationTool21H1 Tool from the download Section. to create USB Bootable.
Step 4: You need to be an administrator to run this tool. This tool will be used to copy the Windows 10 file to the USB flash drive.
Step 5: If you agree to the license terms, select Accept.
Step 5: If you agree to the license terms, select Accept.
Step 6: Select Create installation media (USB flash drive, DVD, or ISO file) for another PC and click the Next button.
Step 7: Follow any on-screen instructions to set your preferred language, Windows edition, and System Architecture. If unsure, check the Use the recommended options for this PC option and proceed.
Step 8: Choose the USB flash drive, and then select your USB from the list. The Windows installation files will start to download to your USB drive.
Note that the download may take a long time depending on your internet connection. Make sure not to disrupt the process until the bootable USB drive is created.
Step 9: After restart Immediately press one of these buttons, Depending on the model of your computer F9 (Boot Key Varies F10, F11, F12) to Boot from the USB device that you just created to start the Windows 10 install process. then it will open Boot Manager. Some computers tell you which button to press to enter the Boot Manager as the computer starts up. then Select "Your USB Drive".
Step 13: Select operating system you went to install, This will begin the installation process.
Select the partition of your existing operating system and click the Delete button. If you are installing an operating system for the first time on this hard drive, then there will be no partitions to delete. If your hard drive has multiple partitions, be sure to delete the correct one. Any data on a deleted partition is lost for good.
Step 24: After choosing all of your settings, Windows goes through one final setup process. You will see several screens explaining how to use the new Windows. Once the loading is complete, you’ll be presented with your Start screen. You’re ready to begin using Windows 10
VIDEO TUTORIAL - INSTALLATION GUIDE
We hope you enjoy my Website content as much as we enjoy offering them to you. If you have any questions or comments, please don't hesitate to let comment below.
DOWNLOAD FILES
Click on below button to start Download the files from the download links.
Click on below button to start Download the files from the download links.
MediaCreationTool21H1
We hope you enjoy my Website content as much as we enjoy offering them to you. If you have any questions or comments, please don't hesitate to let comment below.
DISCLAIMER
All videos on my Website and YouTube channel are for Educational purpose only to help people Fix errors and download and install software... for free. Anyone using these videos for any illegal or unlawful purpose will be solely responsible for his/her activity.
All videos on my Website and YouTube channel are for Educational purpose only to help people Fix errors and download and install software... for free. Anyone using these videos for any illegal or unlawful purpose will be solely responsible for his/her activity.


0 Comments: